
Been busy busy
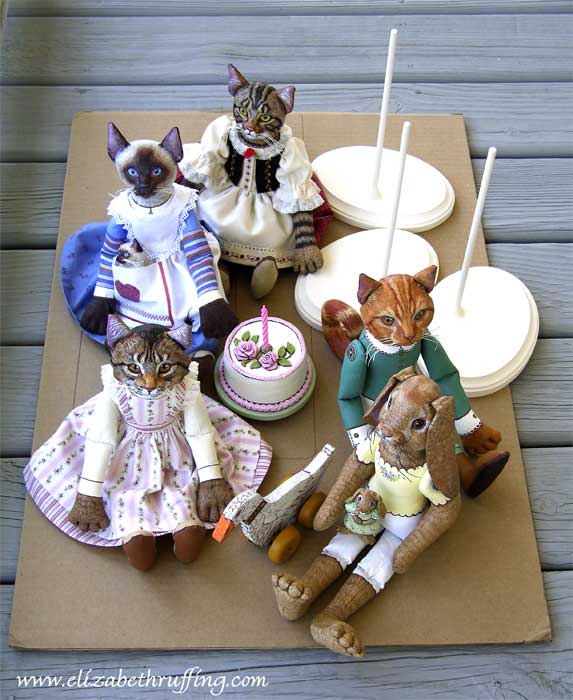 Everyone has just been lining up, waiting to be photographed over here.
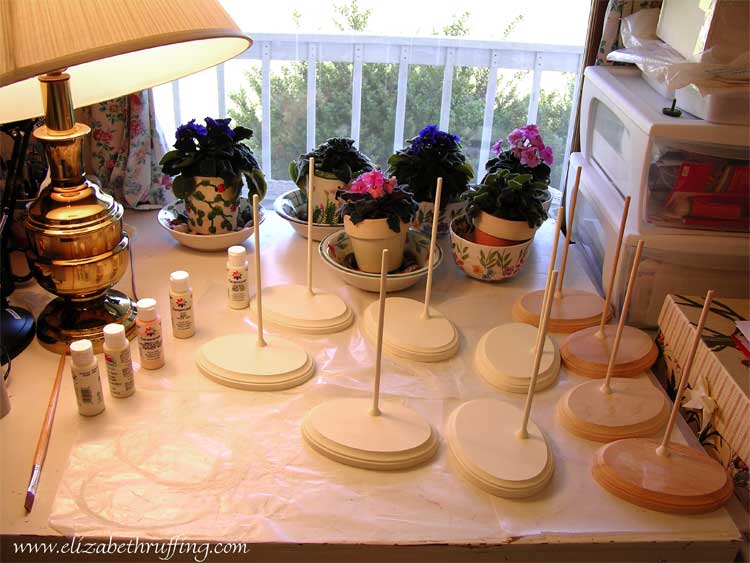 But, first there were doll stands that needed to be painted,
 supplies that needed to be organized,
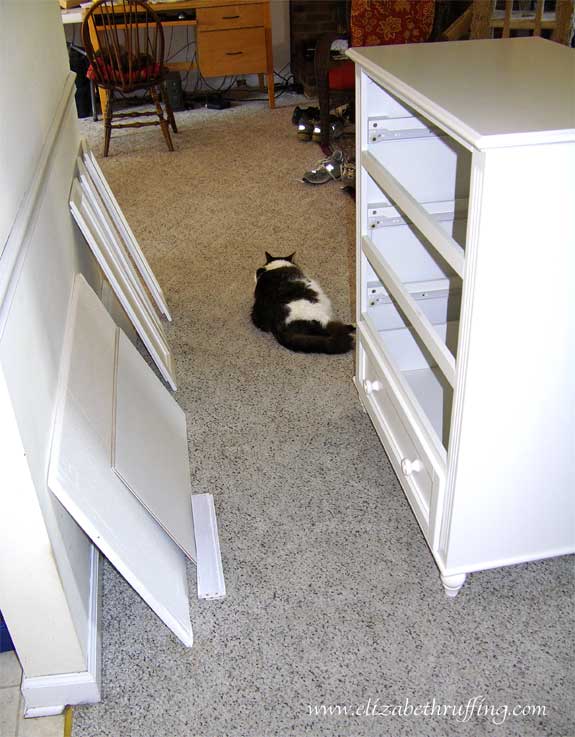 and a dresser, in which the dolls are now napping, that needed to be assembled.
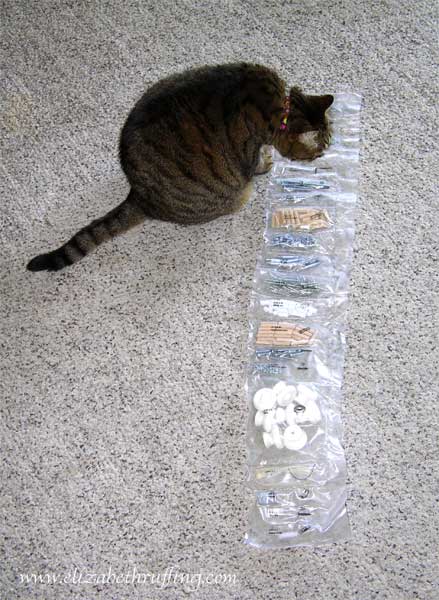 What a lot of hardware! I'm glad it was so neatly laid out.
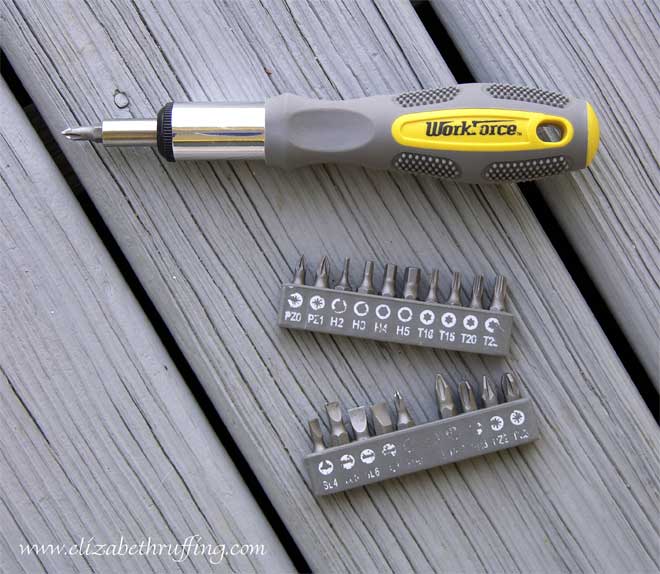 This ratcheting screwdriver with interchangeable bits helped me a lot. It's a WorkForce 21-Piece Ratcheting Screwdriver Set that originally came from Home Depot some time back. Too bad I didn't notice the ratcheting feature until I was putting together the last drawer. You don't have to let go of the handle to keep turning it, which is pretty cool. Like I said before, you never know what handy things you will find in our closets.
 More lovely azaleas came into bloom. I ran out to photograph them.
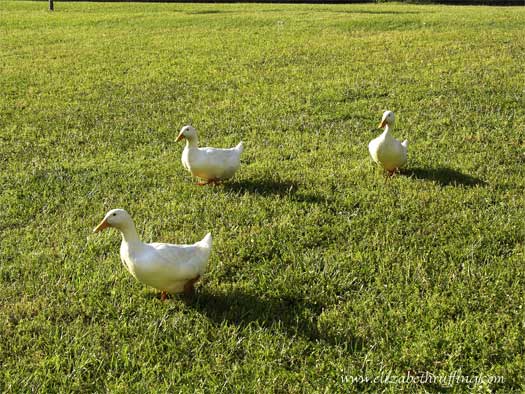 The ducks waddled over, all curious about the whole idea of my photographing azaleas, or maybe they just thought I had snacks.
 Nope, sorry ducks, just azaleas.
Labels: art-dolls, cat-art, folk-art, me-and-my-studio, original-one-of-a-kind, rabbit-art
posted by Elizabeth Ruffing at
Monday, April 27, 2009






5 Comments:
Nice kitty dolls. I thought they were photographs of real cats at first. I like the tuxedo cat on the floor too. I have a tuxedo cat named Grace.
We have a tuxedo too...the real kitty kind :)
May I ask where you get your doll stands? I'm trying to find some like that. I've looked everywhere and they are nowhere to be found!
Kari J.
Hi Kari,
I make the dolls stands myself by drilling a hole in a wooden base and then gluing a wooden dowel in the hole. http://elizabethruffing.com/2009/04/azaleas-and-doll-stands.html I get both at Michaels http://michaels.com/ Before I do anything, I stand the doll on the base, line up the dowel behind the doll, and mark the placement I want with a pencil. After I drill the hole, I put the dowel in the hole, and mark the height I want it to be, standing the doll in front of it. I saw the dowel to the right height, glue it in place, let it dry, and then fill in around the bottom of dowel with some paperclay to neaten it up http://www.paperclay.com/ Once that is dry, I sand it, and paint it with acrylic paint. Felt can be glued to the bottom of the base with fabric glue, if wanted.
So far, the stands I've made have really only been for photographing though because they don't lie flat against the back of the dolls. To fit one to a doll, you might attach a fabric loop to the back on an outfit, where it might not been seen, or maybe shorten the dowel enough so it didn't go beyond the dolls waistband, and then make a fabric strap to attach to the top of the dowel that would go around the doll's "hip" area, closed with some velcro, like Sure Stands http://www.dollspart.com/spgm.cfm?dpt=H&srch=KW&item=SS4003-1 I haven't come up with any I was satisfied enough with to offer with the dolls at this point. Maybe I'll experiment with them some more at a later time.
Hope that is helpful!
Here's the Sure Stand site, with more doll stand sizes: http://www.surestand.com/ Unfortunately, they're not small enough for us.
Post a Comment
Subscribe to Post Comments [Atom]
<< Home